- Getting started with Microsoft Cluster Service, Part 1: Introduction
- Getting started with Microsoft Cluster Service, Part 2: Configure iSCSI disk
- Getting started with Microsoft Cluster Service, Part 3: Create Server Cluster
- Getting started with Microsoft Cluster Service, Part 4: Add Node to Server Cluster
- Getting started with Microsoft Cluster Service, Part 5: Create File Server Cluster (1)
- Getting started with Microsoft Cluster Service, Part 6: Create File Server Cluster (2)
- Getting started with Microsoft Cluster Service, Part 7: Create MSSQL server cluster (1)
- Getting started with Microsoft Cluster Service, Part 8: Create MSSQL server cluster (2)
From last part, I have complete configured the requirement for creating a server cluster. Now I’ll create a new cluster server name ‘BKKCluster’ and add ‘BKKSQL010’ as a first node on the cluster server.
Step-by-step to create server cluster
- On BKKSQL010, Open Cluster Administrator by Start -> Programs -> Administrative Tools -> Cluster Administrator.

- On Open Connection to Cluster in Cluster Administrator window, select Create new cluster. Click OK.

- On New Server Cluster Wizard, click next.

- On Cluster Name and Domain page, select domain and enter the cluster name. In this example, I want to create a cluster server called ‘BKKCluster’ on domain ‘virtual.com’. Click next.

- On Select Computer page, type the computer name which is going to be a first node in this cluster. In this example, it is BKKSQL010. Click next.

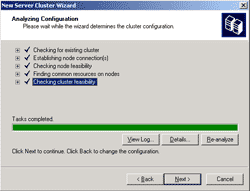
- On Analyzing Configuration page, the wizard will determine whether the server can be configured as a cluster server. If you haven’t configured a quorum disk (shared disk) as in part II, you’ll see the error as in the figure below. And if you continue without creating a quorum, you only have a single node cluster type.

- If you have already created a quorum disk, there shouldn’t be any errors. Click next to continue.
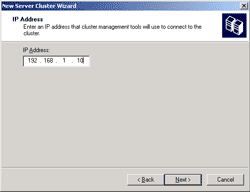
- On IP Address page, type the virtual IP Address for connect to this server cluster. In this example, I use 192.168.1.10.
Note: This is not an existing IP Address of the server, the IP Address on this page will be created virtually by the wizard for connecting to this cluster server. Click next.
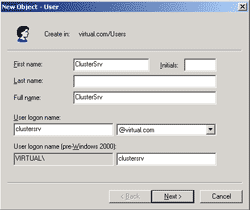
- Before you continue next wizard’s page, you need to create a user account for run this cluster service. To create a new user account on Active Directory, follow these steps below.
- Connect to Active Directory server. In this example, the server is BKKPDC010.
- Open Active Directory Users and Computers by click Start -> Programs -> Administrative Tools -> Active Directory Users and Computers.
- Right click on the domain name -> select New -> User.
- Type name for the user account. In this example, I create user account name ‘clustersrv’. Click next.
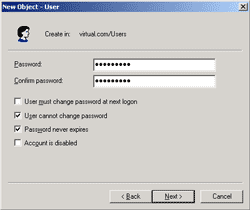
- Enter password for this user account. Check user cannot change password and password never expires. Click next.
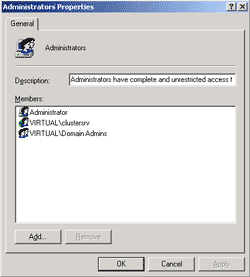
- The service account requires administrative permission on the server cluster to run the service so you need to add the user account to be as a local administrator. In this example, I added ‘virtual.com\clustersrv’ to be a local administrator on BKKSQL010.
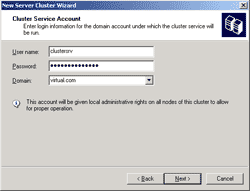
- After user account has been created, back to New Server Cluster Wizard. On Cluster Service Account, type the user account that you’ve just created on the previous step. Click next.
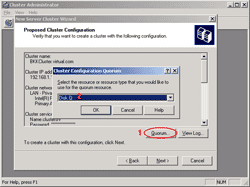
- On Proposed Cluster Configuration, click Quorum and select the disk Q: for keep quorum data on this drive. Click next.
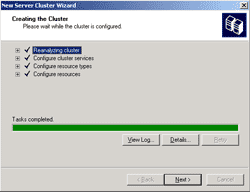
- On Creating the Cluster, waiting for the wizard create the server cluster. When tasks have completed, click next.
Note: There shouldn’t have any errors or warning message on this step before you continue.
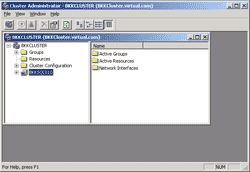
- Now the server cluster has been created with a first node on BKKSQL010. The cluster name is ‘BKKCluster.virtual.com’ and has virtuall IP Address ‘192.168.1.10’.
