- Getting started with Microsoft Windows Server Update Services 3.0, Part 1: Introduction
- Getting started with Microsoft Windows Server Update Services 3.0, Part 2: Requirement
- Getting started with Microsoft Windows Server Update Services 3.0, Part 3: Installation
- Getting started with Microsoft Windows Server Update Services 3.0, Part 4: Configuration
- Getting started with Microsoft Windows Server Update Services 3.0, Part 5: Configure Client
- Getting started with Microsoft Windows Server Update Services 3.0, Part 6: Disconnected network (1)
- Getting started with Microsoft Windows Server Update Services 3.0, Part 7: Disconnected network (2)
After all the requirements have been installed successfully in the previous part, I’m going to install WSUS in this part. The updates will be stores on locally at C:\WSUS and I’ll keep information on Windows Internal Database which will be installed while installing WSUS. If you plan to keep lot of updates or service many client computers, I would recommend using Microsoft SQL Server for performance issue. For a web site for client computers to connect to this WSUS server, I’ll let WSUS create a new web site on port 8530 instead of port 80 which is a common port and may be expose security issue.
Step-by-step for WSUS installation
- Run the WSUS 3.0 SP1 setup file. The wizard appears, click next.

- On Installation Mode Selection, select Full server installation including Administration console and click next.

- On License Agreement, select I accept the terms… and click next.

- On Select Update Source, you can configure where to keep store updates. In this example, I’ll use the default setting that stores updates on local at C:\WSUS. Click next.

- On Database Options, I’ll use Windows Internal Database since this is just an example. If you have existing database system such as Microsoft SQL Server, you can use by select the third option (Using an existing database server on a remote computer) and specify the server name and instance name ( servername\instanceName ). Then, click next.

- On Web Site Selection, WSUS will create a web site that is for client computers to point to. You have 2 options: using default web site on port 80 or create a new web site on port 8530. In this example, I select create a web site on port 8530. Click next.

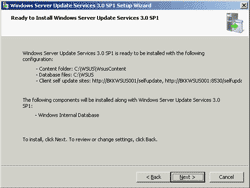
- On this page, it summarizes what’ll be install and configure. Click next to start the installation.

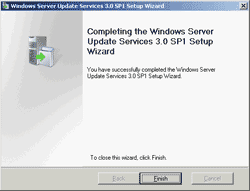
- Now WSUS has been installed successfully. Click finish.

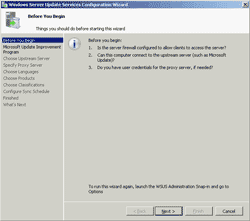
- After you click finish on the previous step, the configuration wizard appears. The configuration will be continued in next part.
