Note: This method works only on Windows 7 Ultimate and Enterprise editions.
Watch on YouTube
Step-by-step
In this example, I will change display language to Spanish on Windows 7 Ultimate.
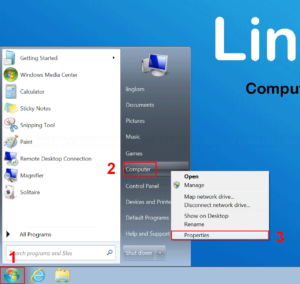
- First, you should check Windows edition that you’re using. On Windows 7 desktop,
- Click Windows icon at bottom left
- Right-click Computer
- Select Properties
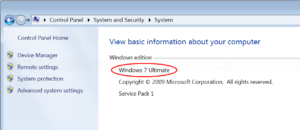
- You will see Windows edition at top. If you’re using Windows 7 Ultimate or Enterprise edition, you can follow steps here to change display language.
- Next, install a language pack from Windows Update.
Open Control Panel -> System and Security -> Windows Update and click optional updates.
Note: If you don’t see optional updates on this page, you have click Check for updates first.
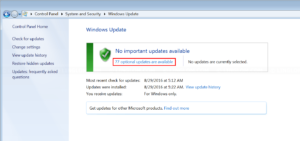
- On Optional updates, scroll down to Language packs section, select language pack you want to install and click OK.
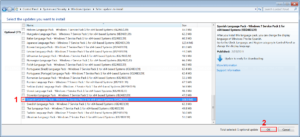
- Click Install updates to begin download and install the language pack.
Note: If there are important updates available, but you don’t want to install them at this moment, make sure to uncheck them before continue.
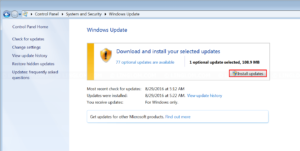
- In this example, it took 15 minutes to download and install Spanish language packs. When finishes, click Control Panel Home.
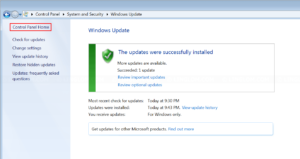
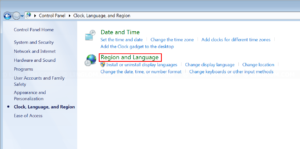
- Select Clock, Language, and Region.
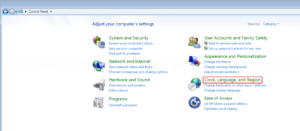
- Select Region and Language.
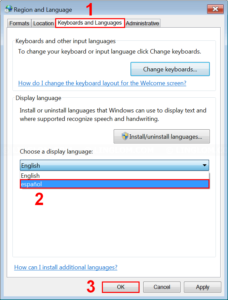
- On this window, change display language to Spanish:
- Select Keyboards and Languages tab
- Change display language option to Spanish
- Click OK
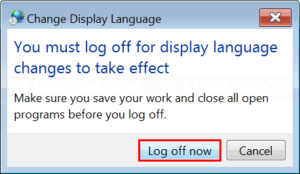
- Click Log off now.
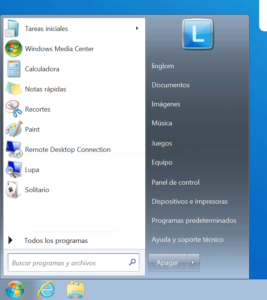
- After you signed-in to Windows, display language is now Spanish.
- If you want to change display language back to English, you can follow step 7-10 again, but change the option on step 9.2 to English.
