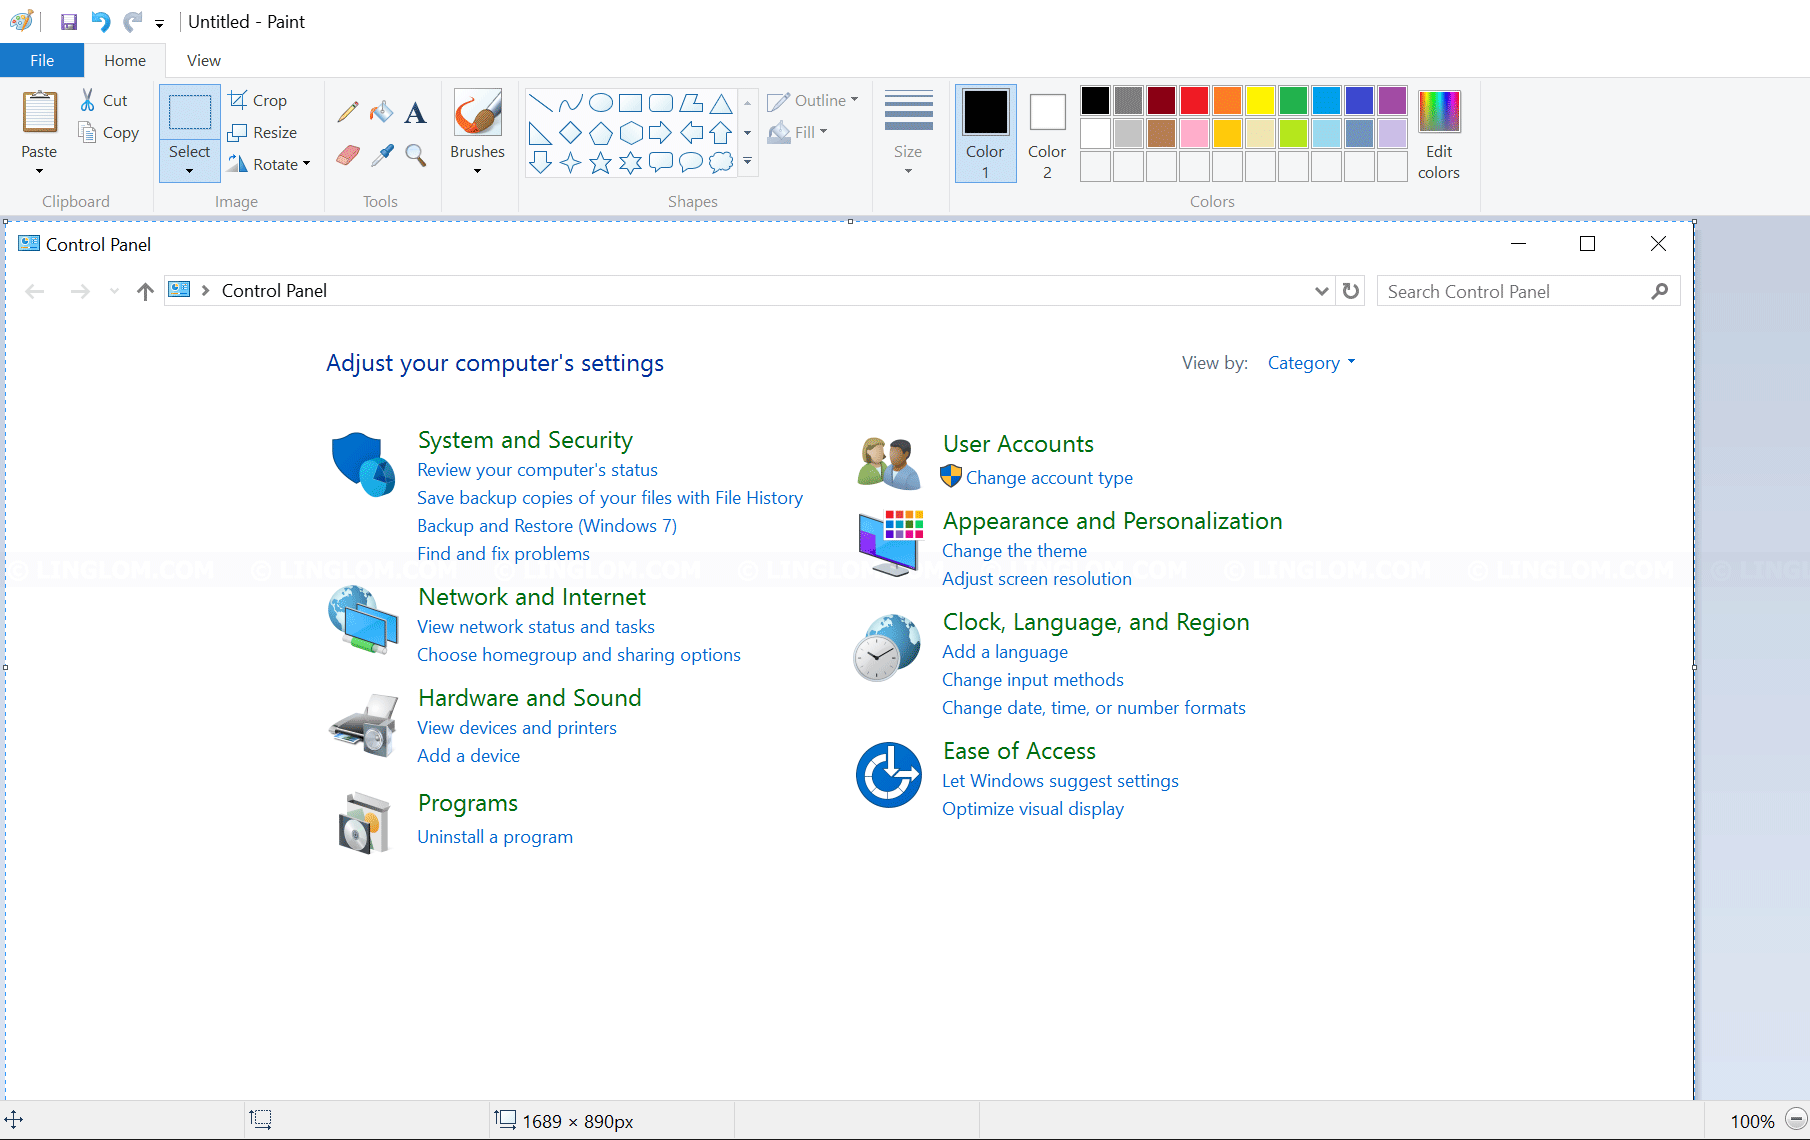
This article shows 2 methods to take a screenshot on Windows.
- Quickly take screenshot to a PNG file on Windows 8/10
This method takes screenshot of everything on your screen(s) as PNG file and directly save to C:\Users\(user-name)\Pictures\Screenshots folder. - Take screenshot to the clipboard
This method works on all Windows versions. You can take a screenshot to the clipboard, paste it on an image editor, like Paint, and save it to a file.
Watch on YouTube
Step-by-step
Quickly take screenshot to a PNG file on Windows 8/10
- On PC where you want to take a screenshot, press Windows + Print Screen keys to capture a screenshot.
Note: For laptops, you may have to press Windows + Ctrl + PrtScr or Windows + Fn + PrtScr.
For tablets (excludes Surface), you have to press Windows + Volume down button.
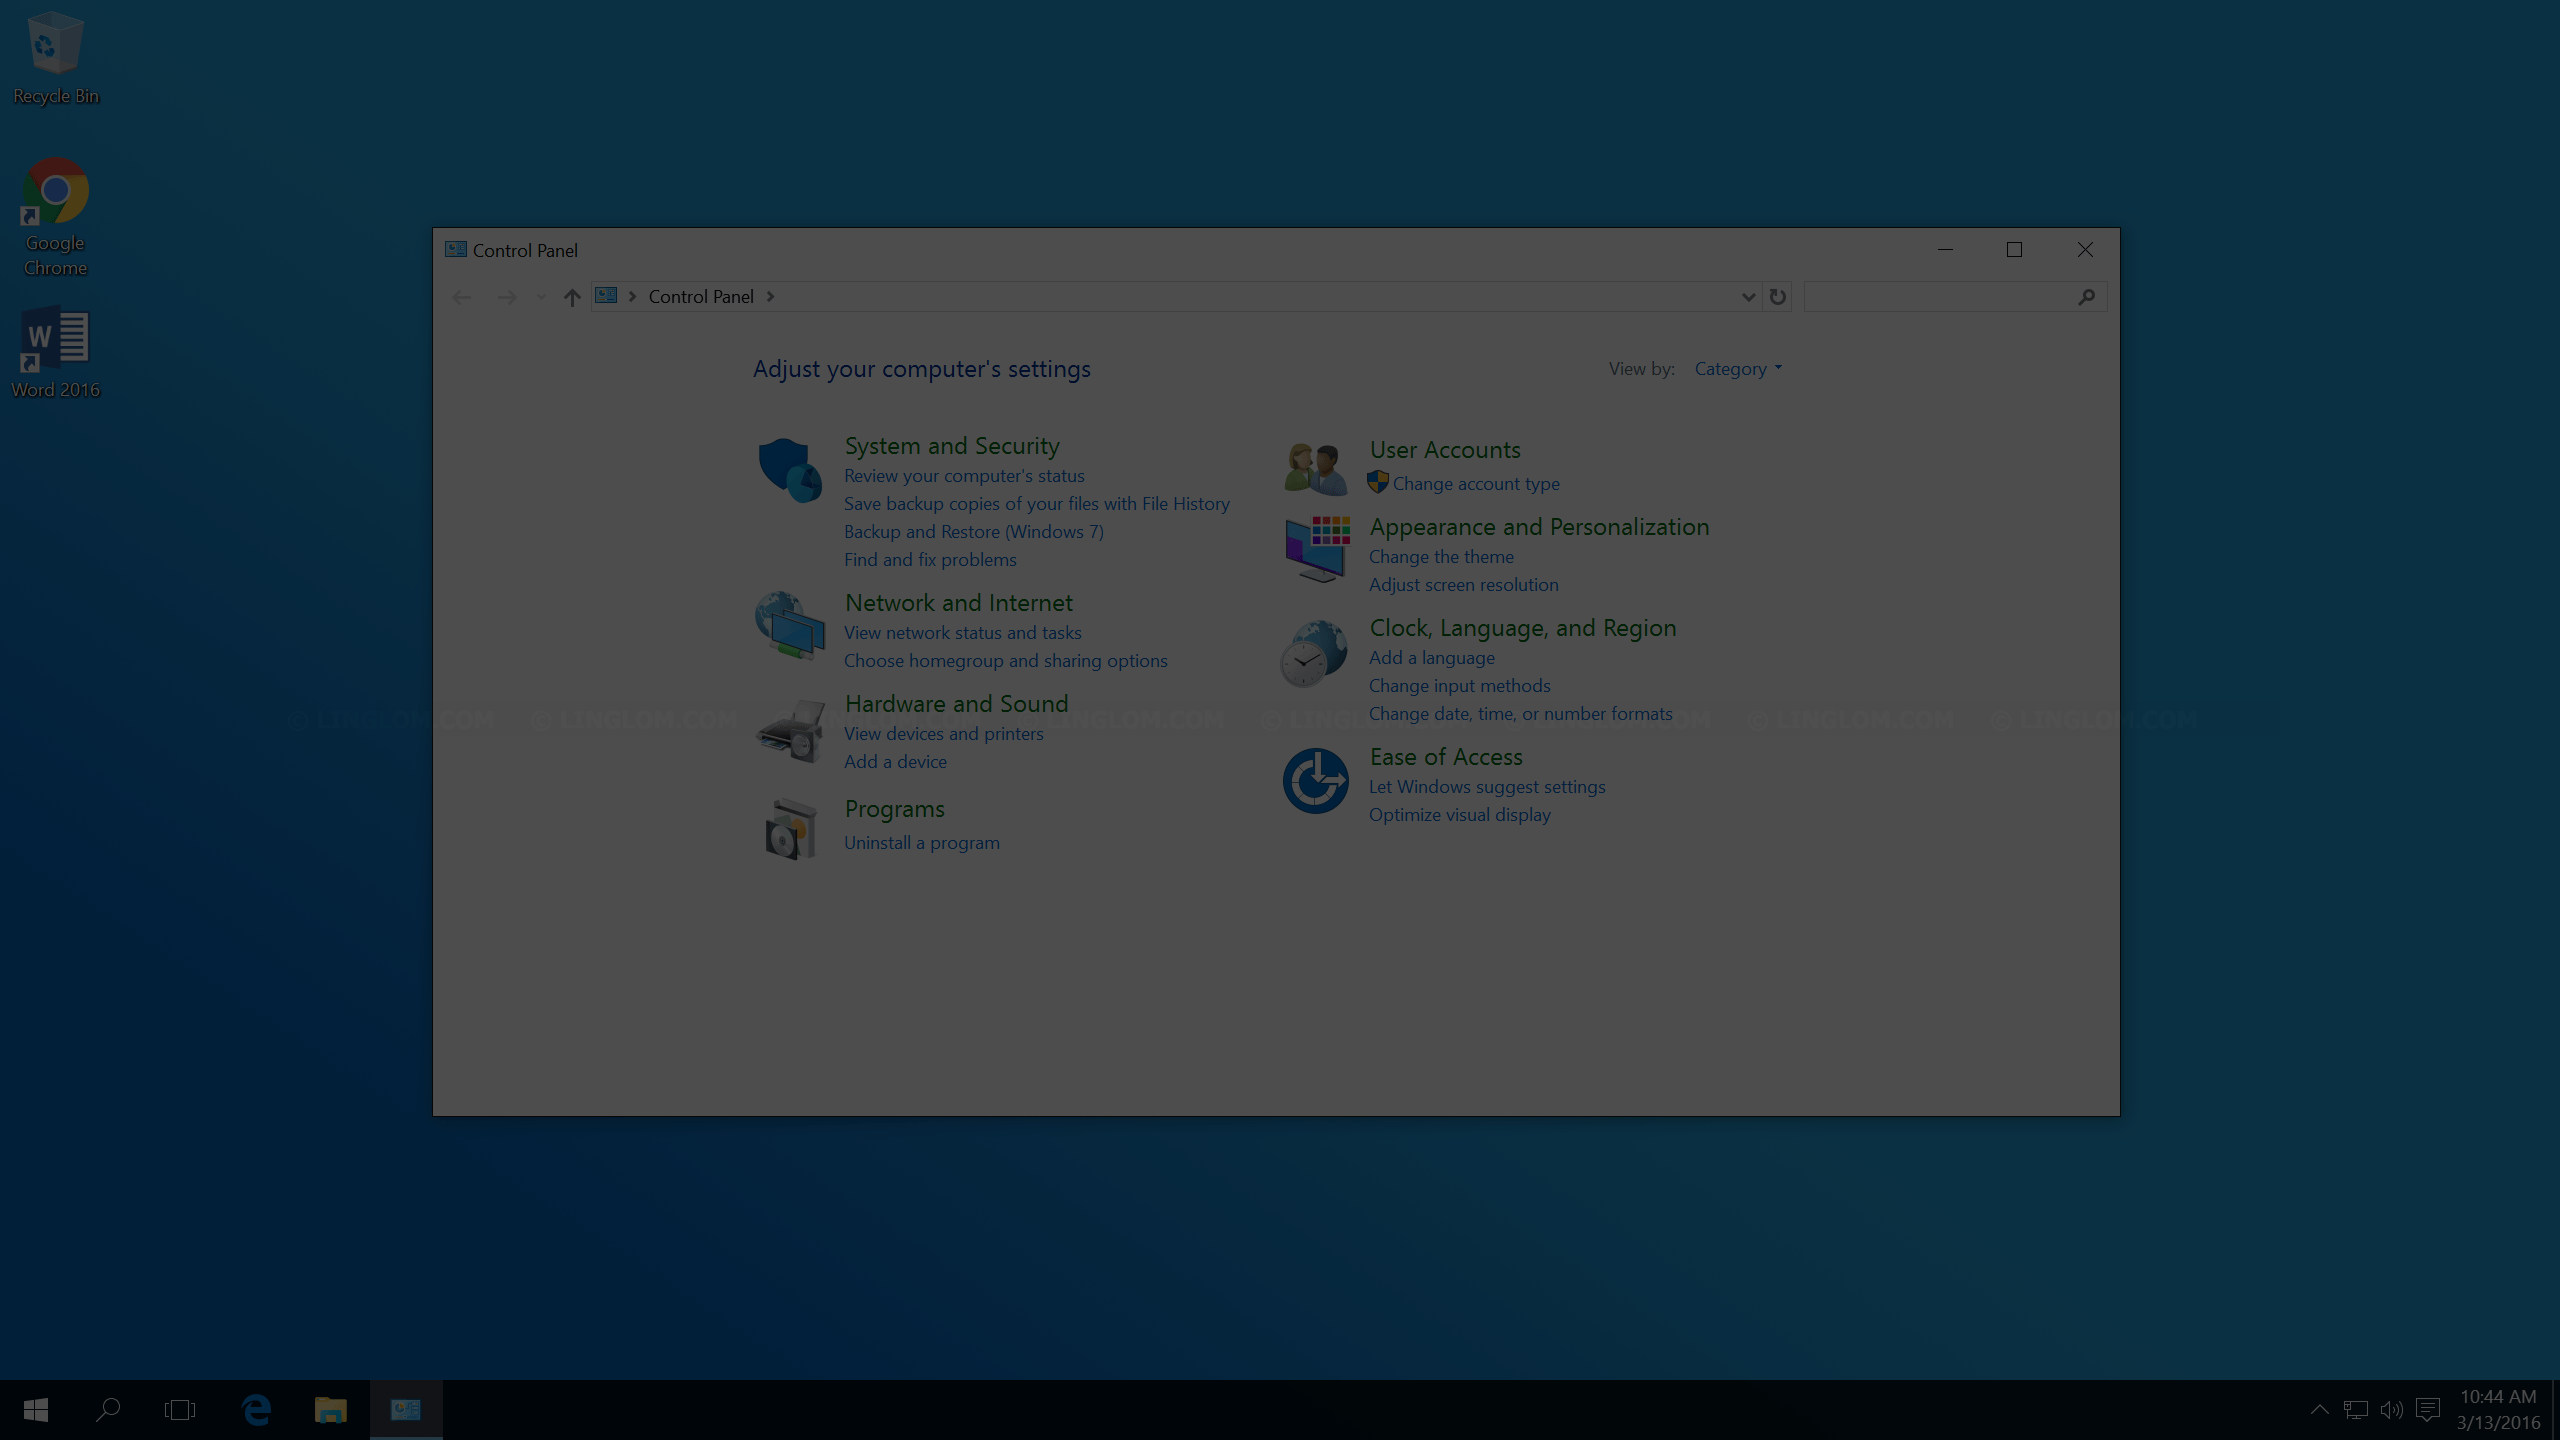
For tablet (Surface), you have to press Windows + Fn + Space Bar. - You notice that the screen is dim for a moment and will return back to normal which indicates that it’s taking a screenshot.
Note: The screen will dim only if you have the Animate windows when minimizing and maximizing option checked in visual effects.
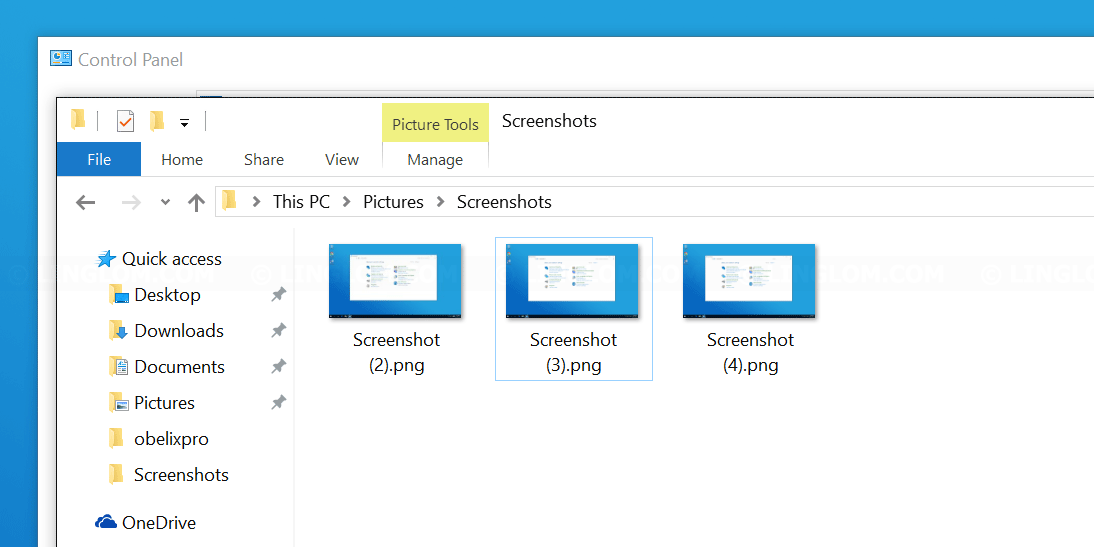
- You will see screenshot file in C:\Users\(user-name)\Pictures\Screenshots folder.
Take screenshot to the clipboard
- On the screen where you want to take a screenshot, press Print Screen key.
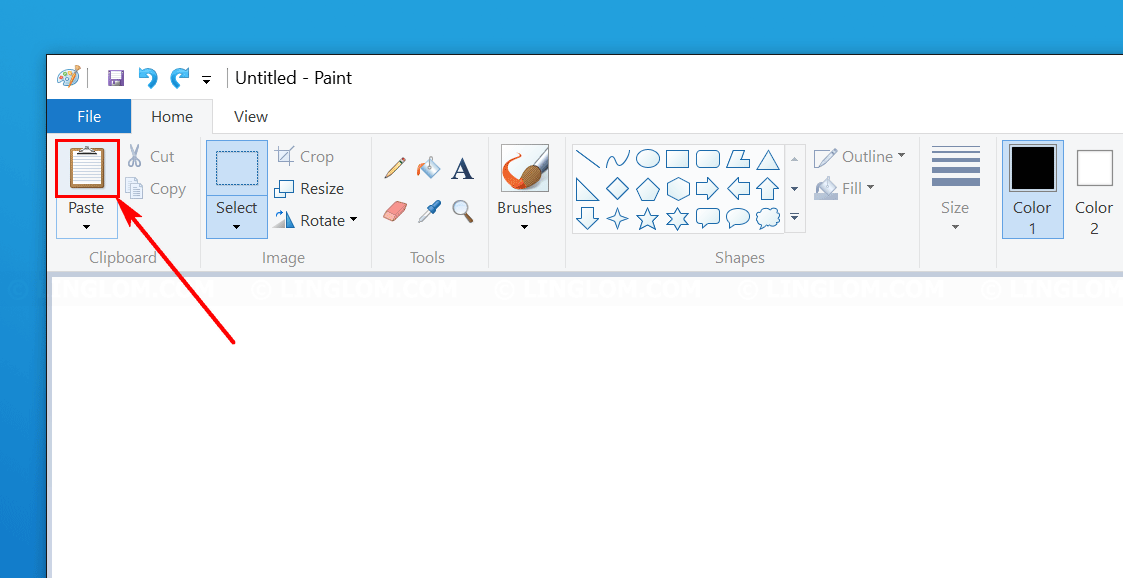
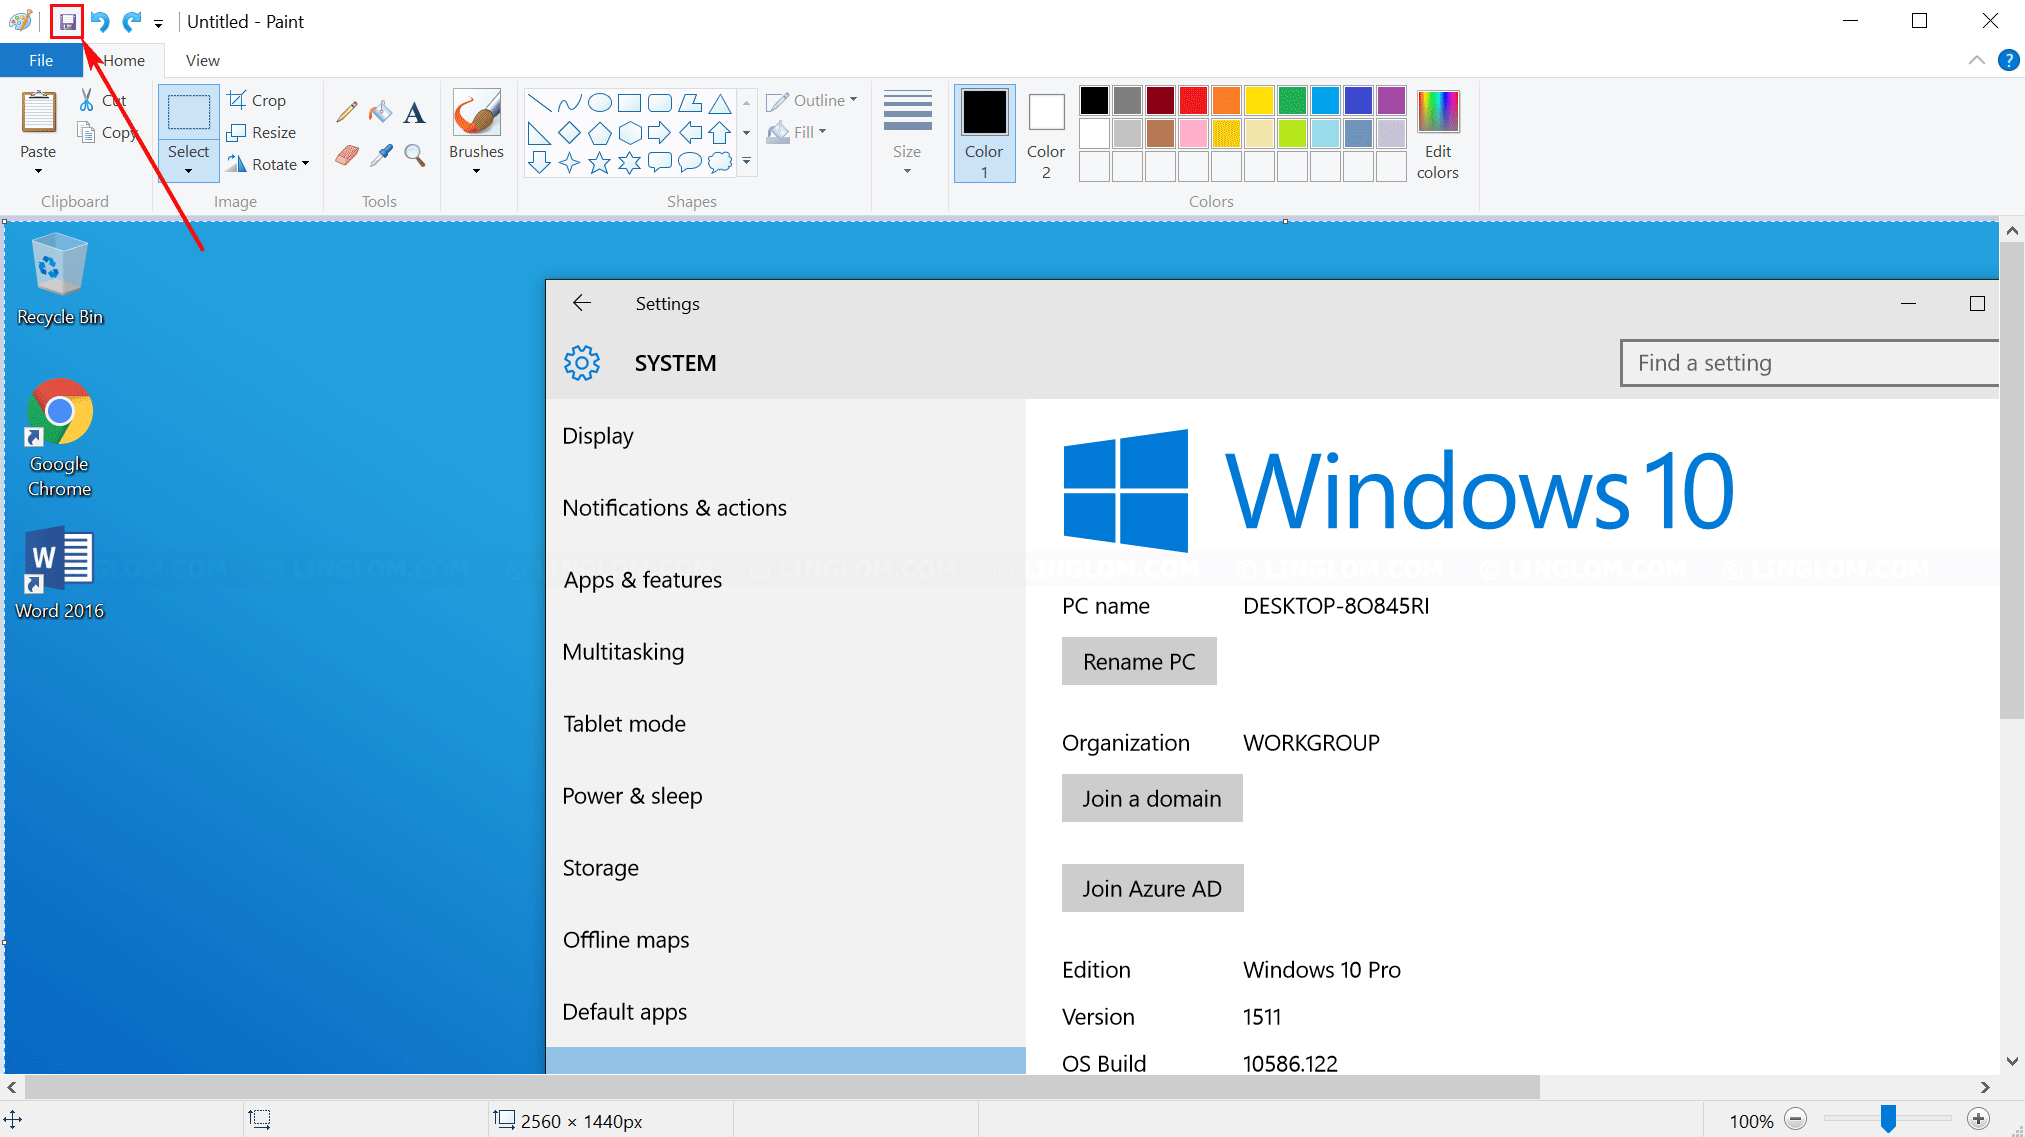
- Open an image editor, I use Paint in this example. And click Paste.
- Modify the screenshot as you want (resize, cropping, highlighting). Then, click Save button, choose where to save file and click OK. Finally, you will have a screenshot file.
- If you want to take screenshot only the active window, select the window, and press Alt + Print Screen keys.
Note: For laptops or some device, you may have to press Alt + Fn + PrtScn instead. - Then, paste the image and save it to a file just like the previous method. And you will have the screenshot file.
