- UML Modeling on NetBeans, Part 1: Installation
- UML Modeling on NetBeans, Part 2: Create a Use Case Diagram
- UML Modeling on NetBeans, Part 3: Generate code from UML Diagram
- UML Modeling on NetBeans, Part 4: Generate UML Diagram from Code
UML Modeling on NetBeans, Part 3: Generate code from UML Diagram
In this part, I am going to show how to generate code from existing diagram so that it can reduce a lot of work if you have an well-defined diagram. Also, it can make sure that the coding structure of your project will conform as in a diagram.
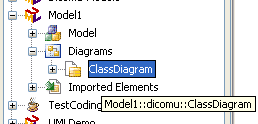
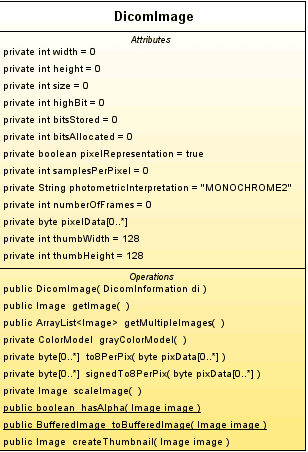
- Suppose I have an existing class DicomImage in Model1 Project as in figure below.
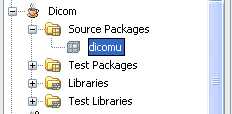
- Before we start, let choose where to save source code file. Let say, I want to put source code in Source Packages, Dicom project. (“C:\Documents and Settings\Linglom\Dicom\src”)
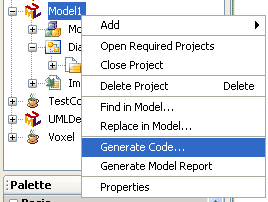
- Now, let generate code. Right click on Model1 Project, select Generate Code…
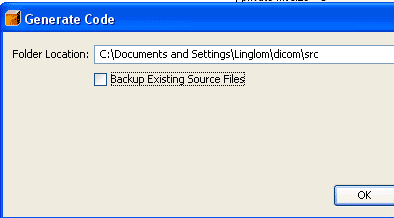
- Select destination to put the source code, I use location from 2. Click OK.
If you don’t want to backup file, just uncheck the box.
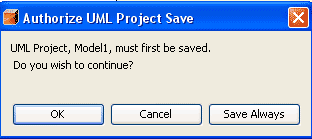
- If you have just created a diagram, it will ask to save it first. Click OK.
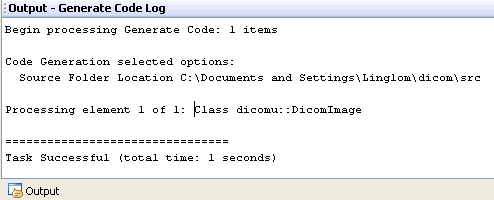
- When code are generating, you will see the progress in the output window.
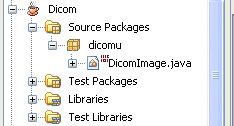
- When it finished, you will see the new file in destination Project was created. Try open it and you will see some source code that it has generated for you.
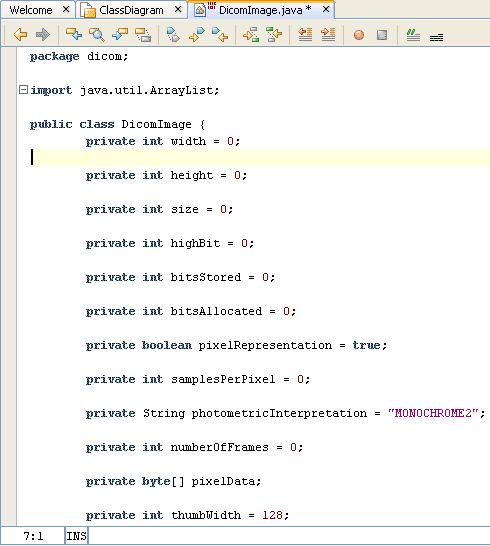
This tool is useful if you have a clearly well-defined diagram. But keep in mind that if your diagram contain some errors, your generated code may effected from that, too.
Good post !!! It was really interesting, but I dont know all the buttons from the palette, where can I found more information about the these button?….
Thanks for the time. bye
To Saul,
I guess you mean icons in palette window in part II. I suggest you should find some information about the diagram.
For Use Case diagram, there are some nice tutorials:
http://www.developer.com/design/article.php/2109801
http://www.agilemodeling.com/artifacts/useCaseDiagram.htm
great site…but i need stuff like pdf format…