Malwarebytes Anti-Malware is one of the most effective program that can detects and removes malware like worms, Trojans, rootkits, rogues, spyware, etc. It is simple to use, does fast scanning, and capable to detect and clean most malware on a computer. Also, it works well with other anti-virus program with no conflicts so you don’t have to worry stop or remove your existing anti-virus program. The free version is sufficient if you don’t need real-time protection, scheduler scanning.
This article shows how to download, install Malwarebytes Anti-Malware Free version and scan for malware on Windows 7.
Step-by-step
Download and Install Malwarebytes Anti-Malware Free Version
- Download Malwarebytes Anti-Malware from https://www.malwarebytes.org.
Click Free Version Download.

- Run the download file. Select installation language and click OK.

- On Setup Welcome page, click Next.

- On License Agreement, select “I accept the agreement” and click Next.

- On Information, click Next to continue.

- On Select Destination Location, select where you want to install Malwarebytes Anti-Malware and click Next.

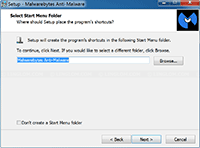
- On Select Start Menu Folder, set name for start menu folder and click Next.
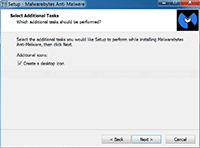
- On Select Additional Task, you can check the box if you want a shortcut to Malwarebytes Anti-Malware on your desktop and click Next to continue.
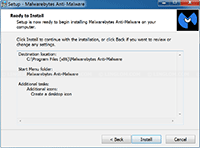
- On Ready to Install, you can review settings for the installation. Click Install to begin.
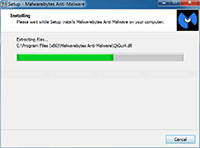
- The setup is installing Malwarebytes Anti-Malware.
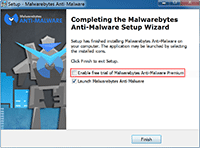
- When the setup finished installing Malwarebytes, uncheck the box “Enable free trial of Malwarebytes Anti-Malware Premium” option and click Finish.
Scan and Remove Malware
- Open Malwarebytes Anti-Malware. When it run, it’ll update its database. It is recommended to update the database before proceed to scanning.
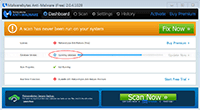
- When the update process finished, click Fix Now for the first time that you run the program or click Scan Now to begin scanning for malware on this computer.
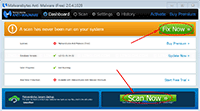
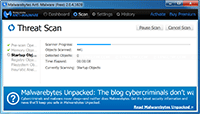
- Malwarebytes Anti-Malware is scanning for malware.
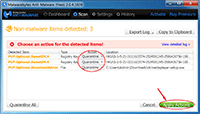
- When the scanning is finished, you see a report what Malwarebytes detects on this computer. You can choose to quarantine, ignore, or add exclusion on each item that it detects. If you aren’t sure what to select, you can select quarantine (default option) or select Quarantine All. Once finish, click Apply Actions.
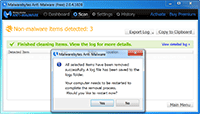
- The program may asked you to restart the computer.
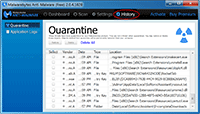
- If you have quarantined some file and realize later that you want it back. You can check on History tab and select on the item that you want and click Restore.
If you are confident that all items in quarantine can be deleted, select Delete All to permanently removed all items in quarantine from your computer.
